
Anyone who knows me knows that I love fudge. I’m on a perpetual quest for the perfect recipe. This is the way my mother and aunts make it, but I was always intimidated by the marble slab. I guess that I assumed there were easier ways … which there are, and I’ve recently posted some. … But in my opinion, the one bowl, microwave, 5 ingredient recipes can’t compete with marble slab fudge!

The funny thing is that making fudge on a marble slab isn’t even difficult, and the resulting confection is pure bliss. You can take the basic recipe and add nuts, marshmallows, chocolate chips, sprinkles, coconut, or anything you want.
If you have access to a marble slab, this is the way to make fudge. It’s the way I’m going to make it from now on!

Easy Step-By-Step Instructions for Old- Fashioned Marble Slab Fudge


Marble Slab Fudge
Ingredients
- 2 cups granulated sugar
- ¼ cup cocoa powder
- Dash salt
- ¼ cup butter
- 1 cup heavy whipping cream
- ½ teaspoon vanilla extract
- 1 cup nuts or other mix-ins optional
Instructions
- Line a 9-in square baking pan with foil, and grease the foil with butter.
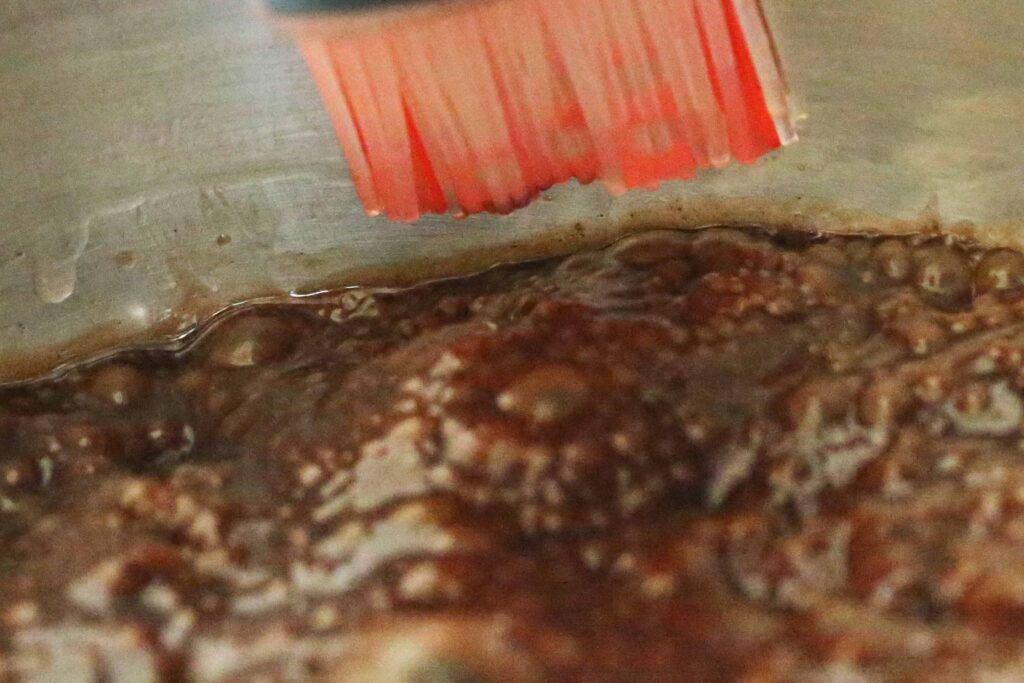
- In a heavy 3-quart pot, whisk together sugar, cocoa, and salt. Stir in butter and whipping cream, and place over medium heat. With a wooden spoon, stir until mixture begins to boil, trying to keep the sides of the pan clean. When it reaches a rolling boil, remove spoon. Brush down all sides with a pastry brush dipped in a little hot water. Do NOT stir it or scrape the sides anymore! Even one granule of sugar can cause the whole batch to turn sugary.
- When the mixture reaches 240 degrees F, or the soft ball stage, immediately remove from heat. (If you don’t have a thermometer, test the candy by removing from heat and drizzling about a teaspoon of it into a bowl of ice water. If it holds together well enough to form a soft, pliable ball, it’s ready). At my house, it takes about 5 minutes to get to that stage, but will vary depending upon your altitude. Watch it carefully!
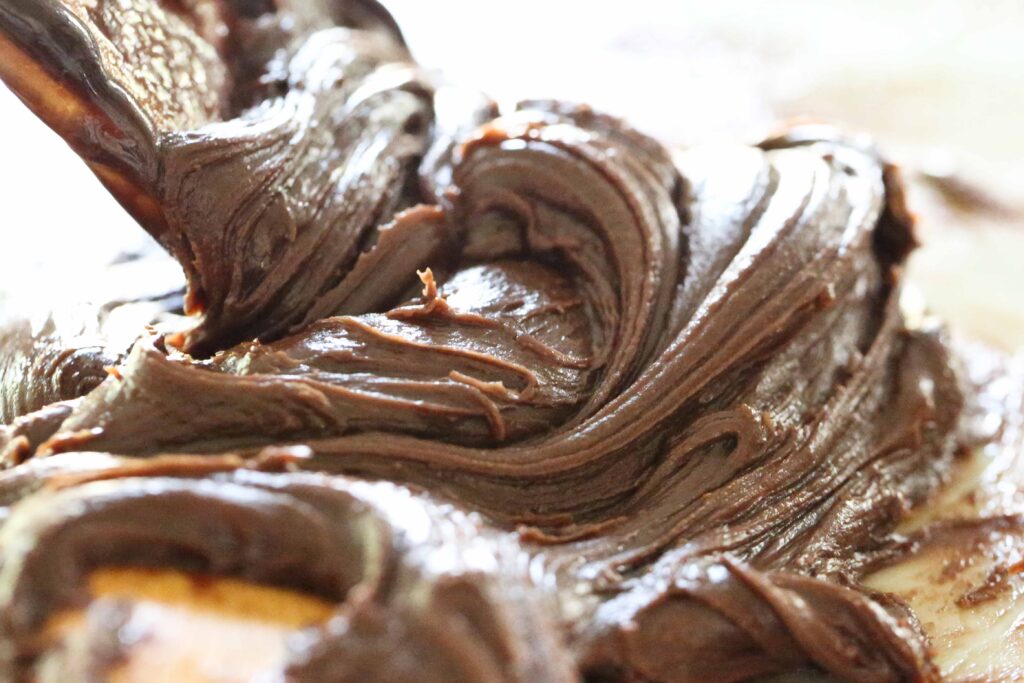
- Pour the entire mixture onto a marble slab, and do NOT scrape the sides of the pan. Allow it to sit and cool for 2-3 minutes, and then begin stirring it with wooden spoons or a bench knife. I like to use a spoon in each hand and pull the candy in opposite directions like a taffy pull. Stir in the vanilla.
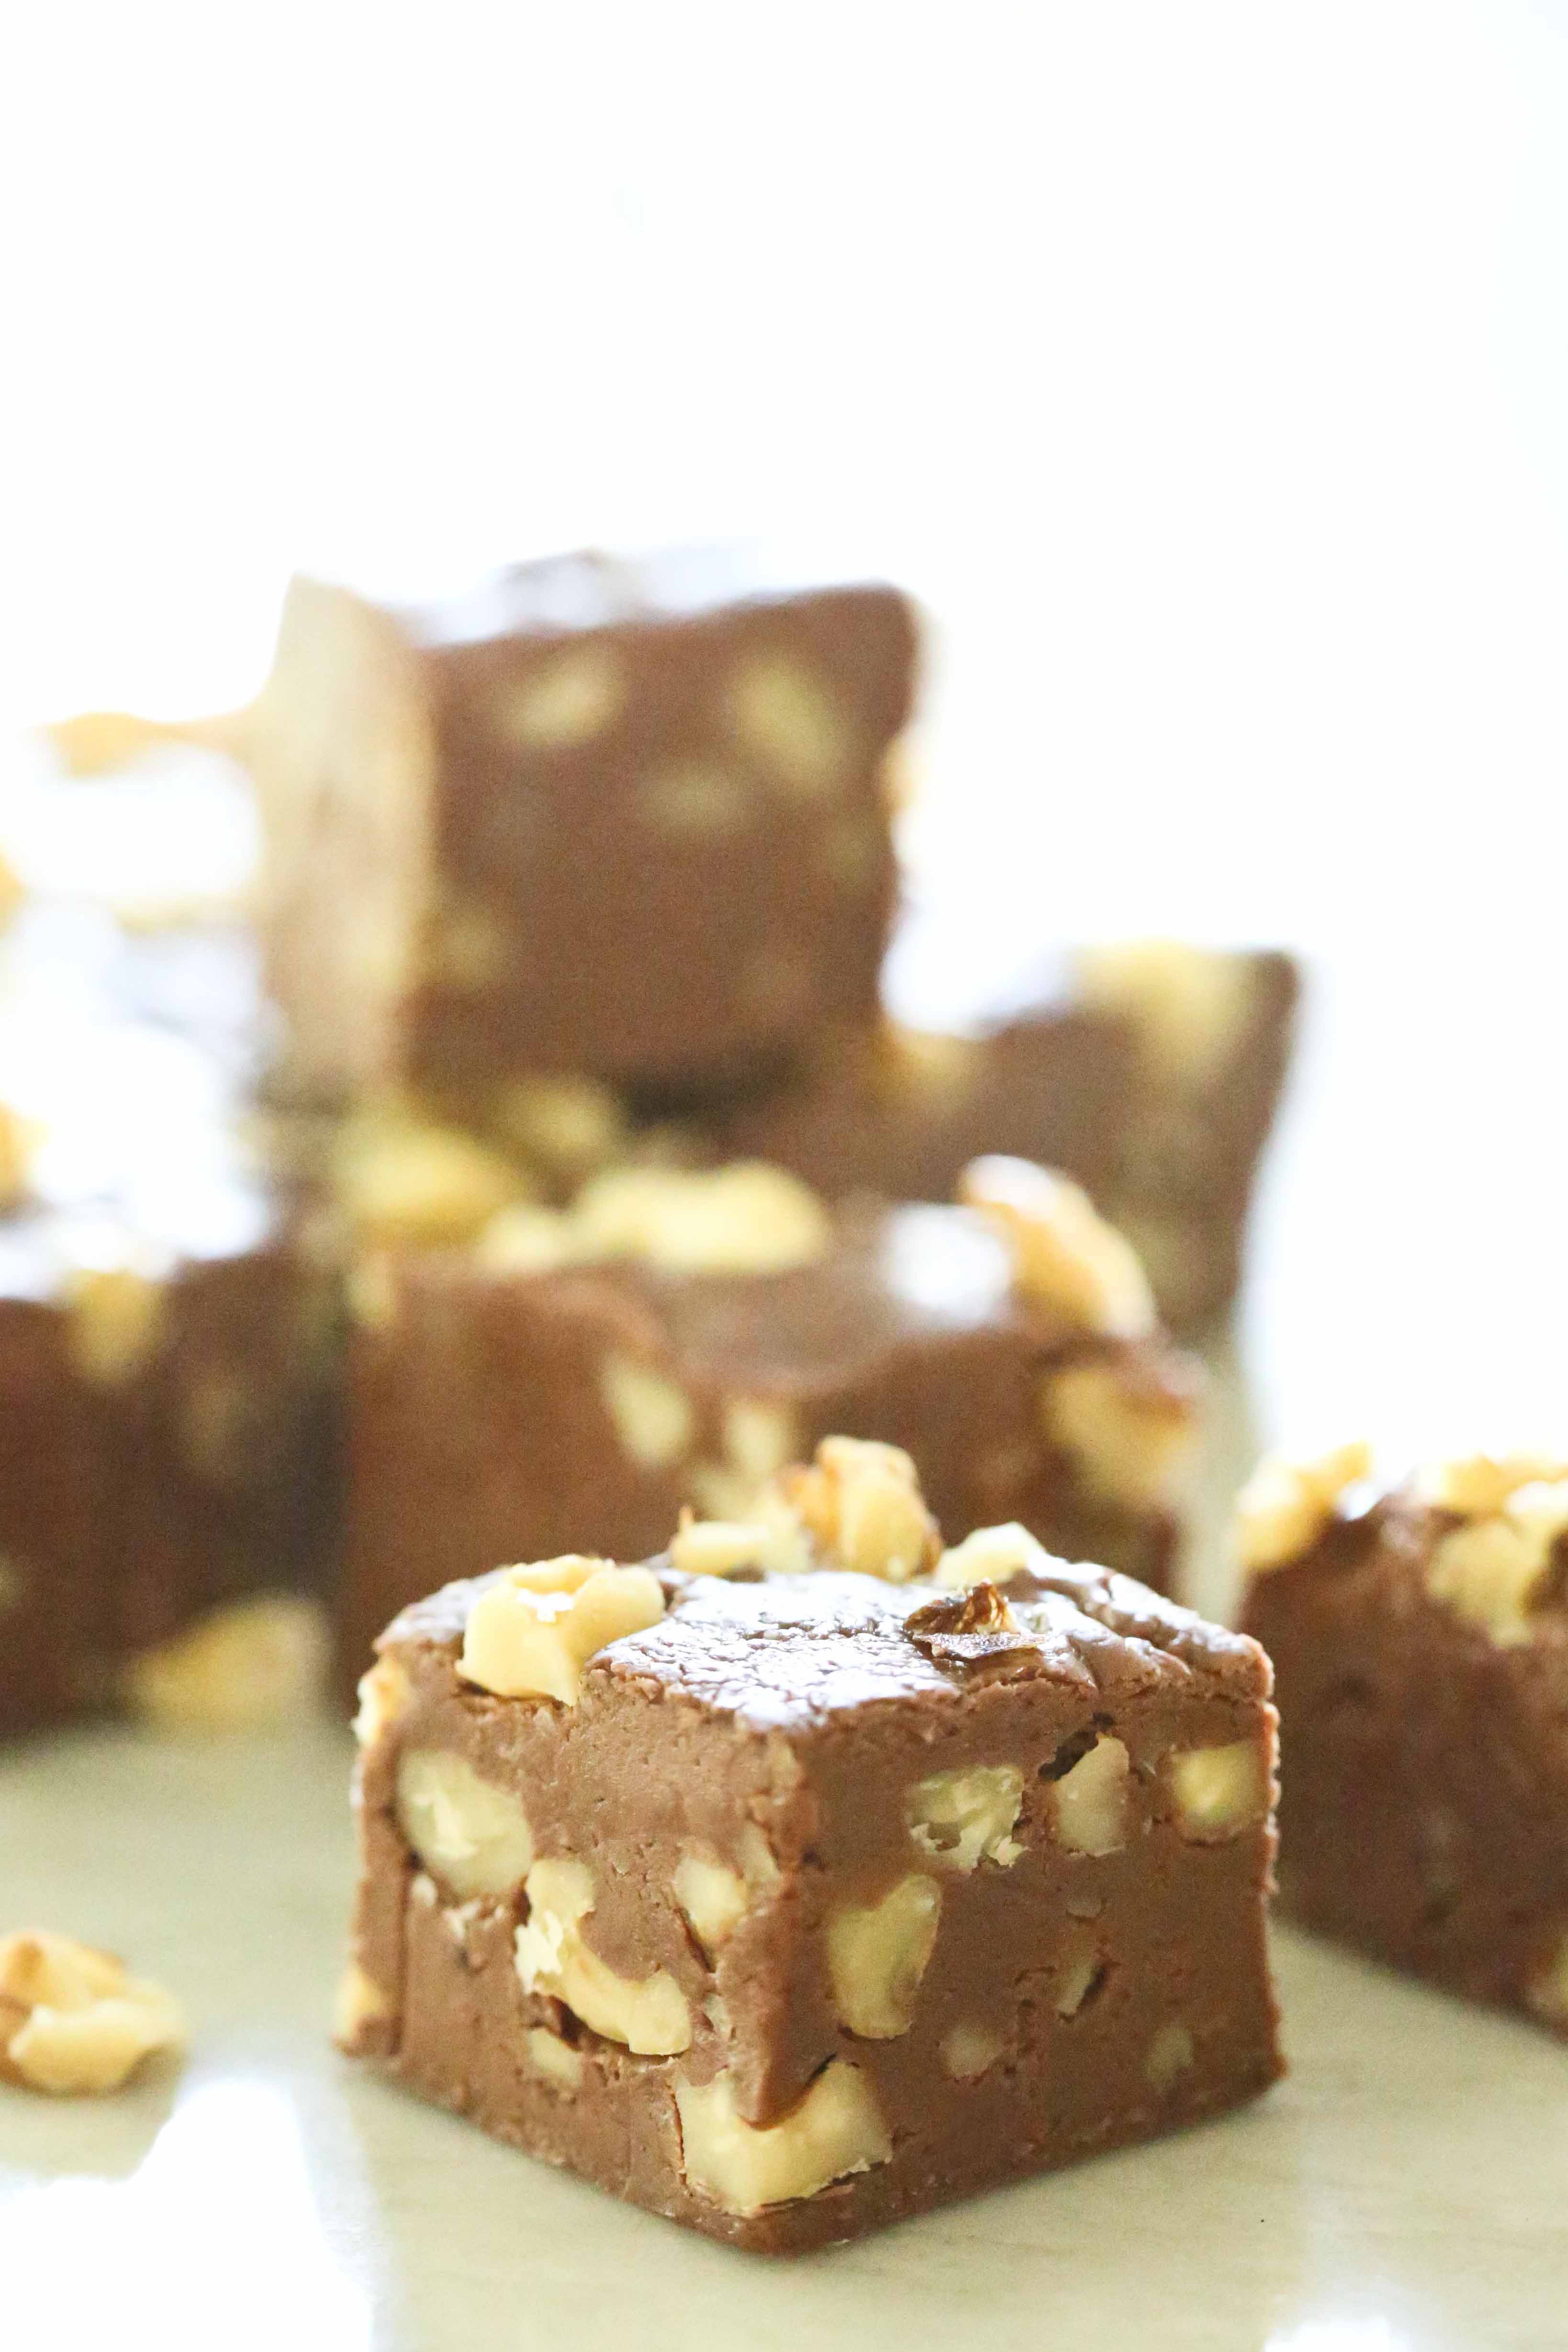
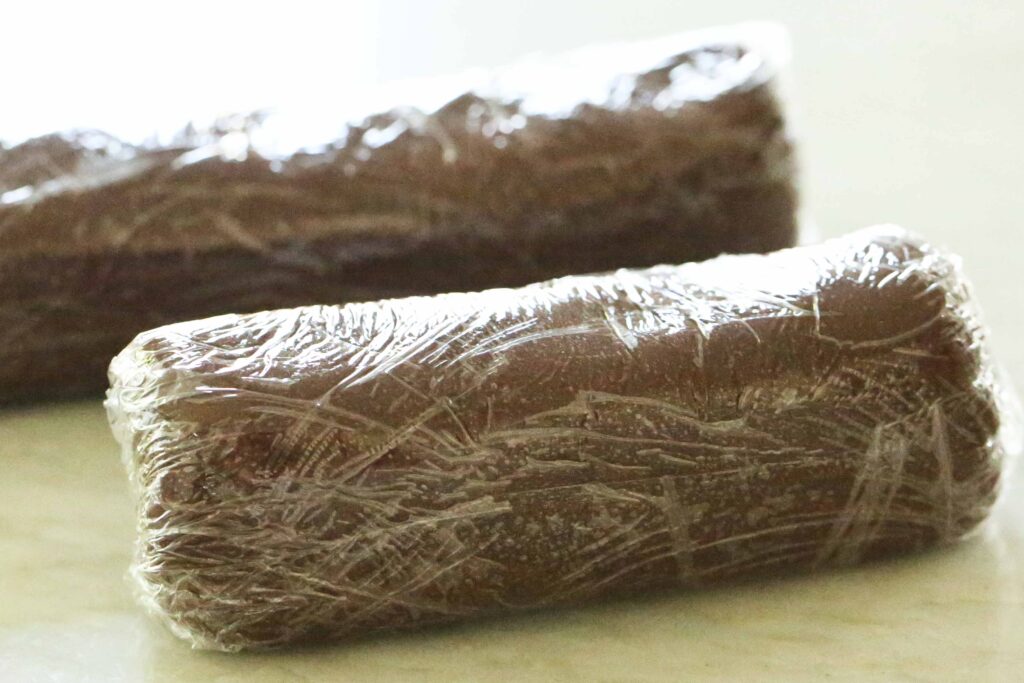
- After a few minutes, it will begin to lose its glossy sheen and set up. Now’s the time to add 1 cup chopped nuts or any other mix-in, and you knead it with your hands like bread. You only need to do this for a minute, and then shape it to desired thickness. Place it in the prepared pan, or roll it into logs and wrap it in plastic.
- Allow to cool completely, and then cut as desired. Immediately put leftovers in airtight containers, and store in the fridge.
Notes
This makes approximately 1 pound of fudge